


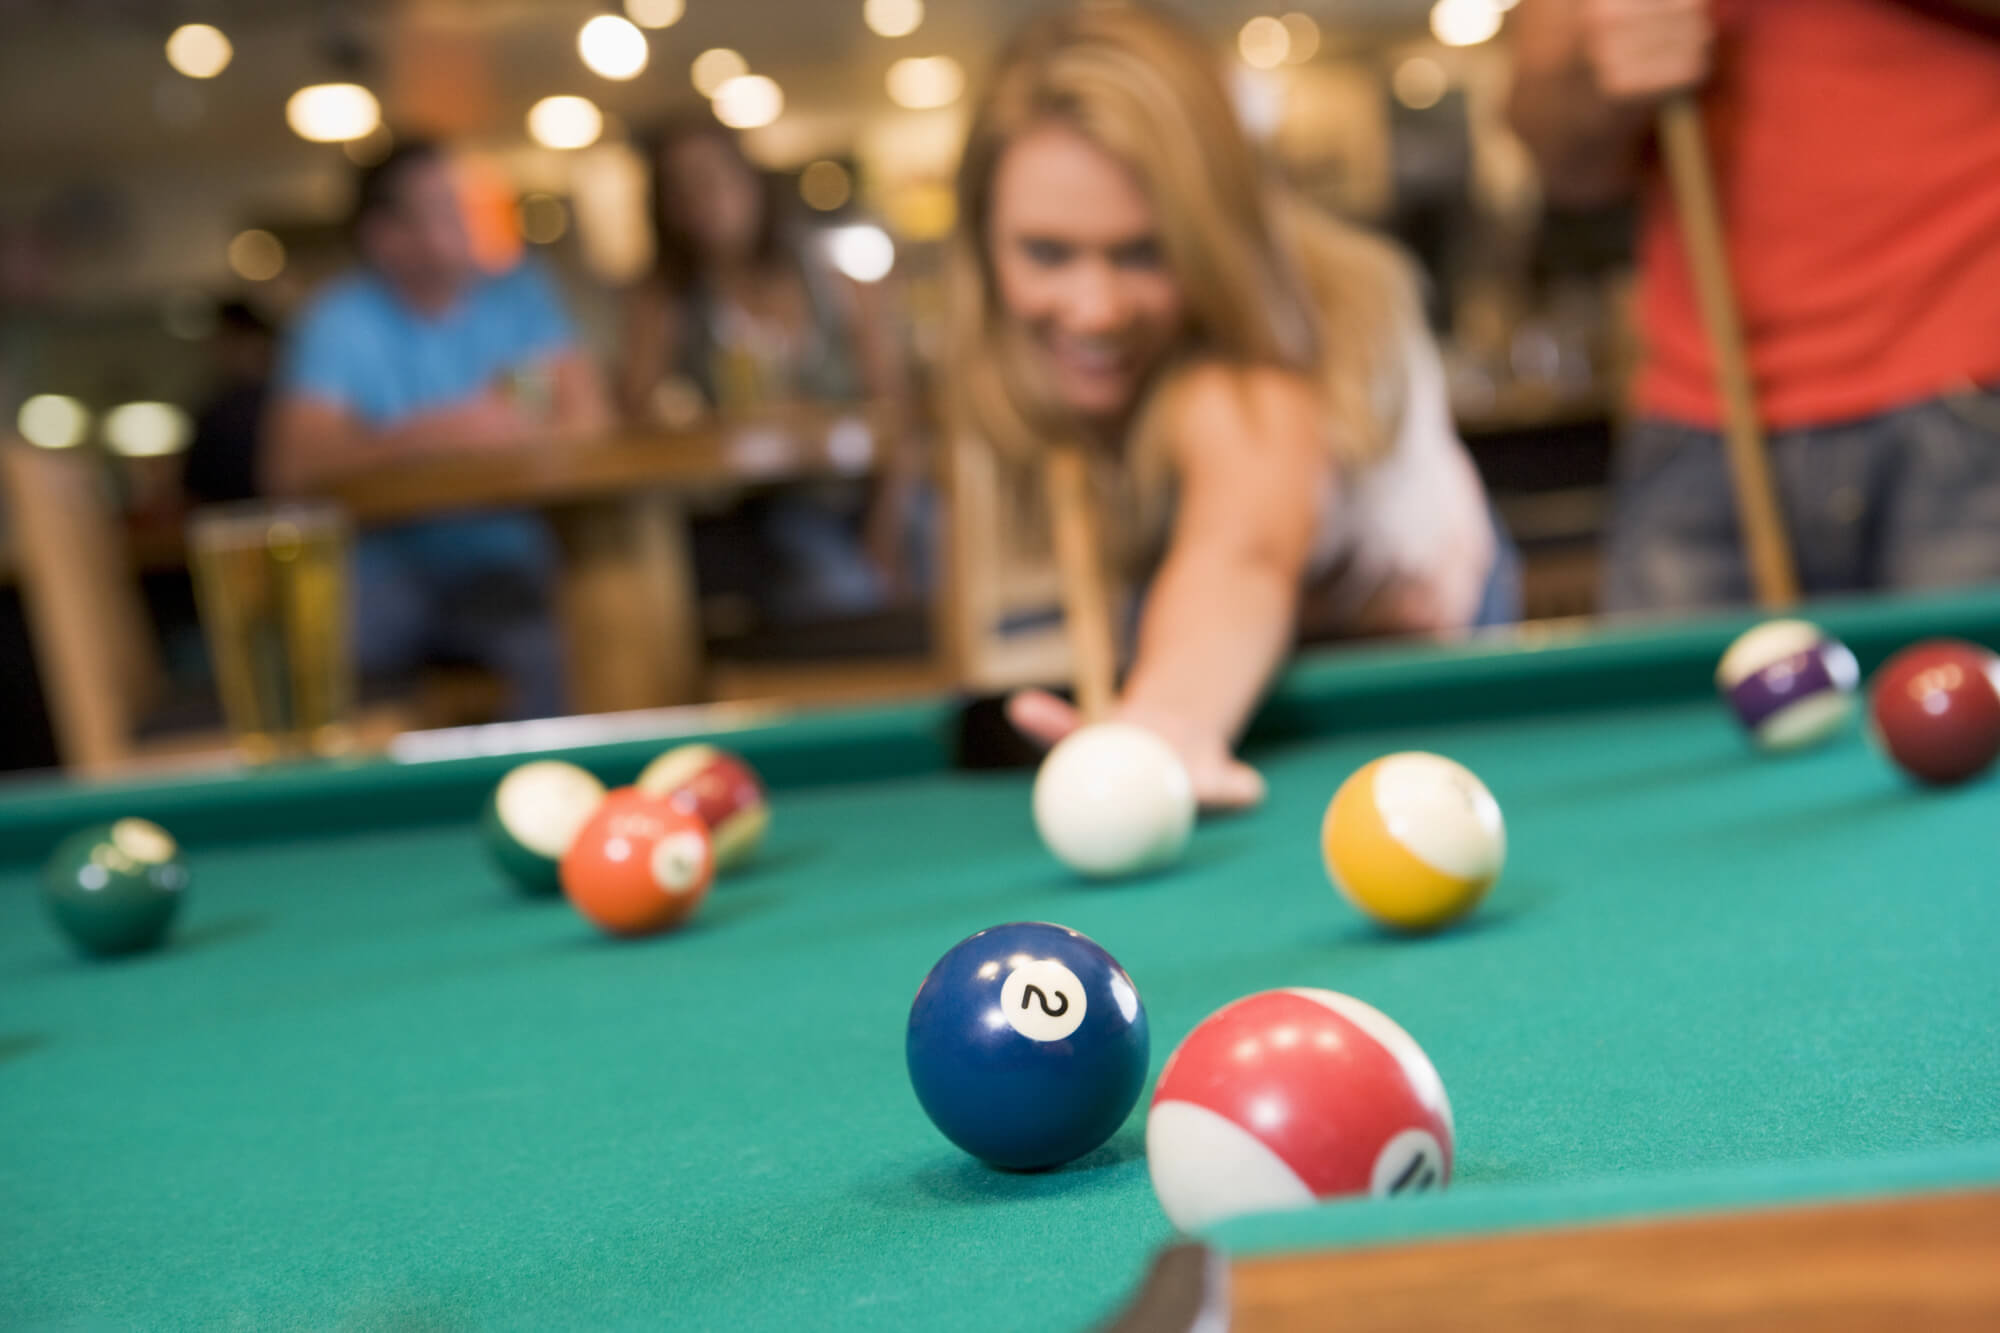
Pool Practice Tips: Drills and Practice Routines to Improve Your Pool Game
When it comes to pool, there’s no shortcut to mastery. It's only smart, consistent, and deliberate practice. Whether you’re new to billiards or have been playing for years, every cueist, from beginners to seasoned champions, relies on structured pool practice drills to refine cue ball control, accuracy, and confidence.
Just as legends like Nick Varner, Jeanette Lee, and Josh Kurzweil emphasize, greatness comes from turning your training ground into a lab for precision. With the right practice routines, you can transform each stroke into muscle memory and each pool game of 8-ball or 9-ball into a showcase of skill and strategy.
Below, discover proven drills and practice sessions designed to make you a more consistent player, covering everything from cue alignment and body alignment to advanced systems like three-rail kicking systems and aiming systems.
The Core Fundamentals of Pool Practice
Before diving into specialized drills, you need to master the foundation—stance, alignment, grip, and stroke. These fundamentals set the stage for every successful shot.
Stance, Alignment, and the Visual Center
- Maintain a balanced body position with your dominant foot forward and your cue stick aligned under your chin.
- Find your visual center, ensuring your dominant eye is directly over the cue for perfect aim.
- Maintain consistent cue alignment from your bridge hand to the object ball.
- Stay relaxed but grounded; good body alignment promotes smooth follow-through.
- Keep your head and posture down on the shot.
Grip and Bridge Techniques
- Maintain a relaxed grip to keep the cue movement fluid; never tense or tighten.
- Keep your elbow steady during the stroke.
- Practice both the open bridge for finesse shots and the closed bridge for power shots like the break shot.
- For tight angles or hard-to-reach positions, use a mechanical bridge.
- Keep your cue tip chalked and check your ferrule regularly for cleanliness to ensure a consistent strike.
- Maintain a smooth transition between the final backstroke and the forward stroke.
- Practice speed control so you don't use more speed than necessary for each shot.
Mastering Cue Ball Control with Targeted Drills
Precision and cue ball control are what separate casual players from professionals. The following practice drills will help you develop touch, speed, and spin awareness.
Centerfield Drill
The Centerfield Drill is a must for improving straight cue ball alignment. The goal is to always leave the cue ball in the center region of the field while also using it to pocket object balls in corners.
- Place the cue ball in the table’s center and aim for a corner pocket.
- Place object balls around the table and work on angles that will always cause the cue ball to bounce back to the center.
- Focus on hitting through the ball’s equator for minimal spin.
- Repeat with small variations; add a touch of side spin or sidespin to learn how spin changes direction after contact.
Stop, Follow, and Draw Shots
Set up a line of balls and practice three essential techniques:
- Stop shot: Hit the cue ball dead center to stop it in place after contact.
- Follow shot: Strike above center to make the cue ball roll forward.
- Draw shot: Hit below the center for backspin and positioning.
Alternate these in sequence to simulate real 8-ball or 9-ball patterns.
Rail First Shot Drill
This classic Rail First Shot Drill teaches how to use the rails effectively:
- Place an object ball near a cushion and practice striking the rail first before hitting the object ball.
- Experiment with side spin and varying power levels to perfect kick shots and bank shots.
- Understanding rebound angles enhances your control in One-Rail Kicking & Banking Systems.
Precision Practice with Advanced Aiming Systems
Once your mechanics are solid, train your eyes and mind with Advanced Aiming Systems. Many top players and coaches use them to sharpen accuracy.
Ghost Ball Aiming System
The Ghost Ball Method, one of the most recognized aiming systems, teaches you to visualize where the cue ball should contact the object ball. If you aim only at the real object ball, you risk hitting the incorrect contact point and missing the target pocket.
- Mark or imagine a “ghost” cue ball’s position right behind your target ball.
- Strike so the real cue ball replaces that position.
- Consistent practice leads to natural visualization and instinctive pocketing.
Contact Point to Contact Point
Mastering the contact point to contact point method can significantly enhance your accuracy on the pool table. Follow these steps to improve your aim:
- Visualize the Line: Start by visualizing a straight line that runs from the center of the object ball (OB) towards your intended target, identifying the contact point (CP) on the OB as the point where your cue ball needs to strike.
- Shift to the Cue Ball: Once you have your line through the OB, transfer that same line, keeping it parallel, to the cue ball (CB). This establishes where the CP is on the CB.
- Connect the Contact Points: Now, visualize a line connecting the CP on the CB directly to the CP on the OB. This red line serves as the essential guide for your shot.
- Align with the Cue Ball Center: Move this red line parallel back to the center of the CB. This alignment reveals the natural aiming direction you should take.
Additionally, using parallel lines related to the edges of the ghost ball (GB) can be quite helpful. Visualize orange lines, which are parallel to the desired OB target direction, and yellow lines, which guide your CB aiming direction, to streamline the process.
Double the Overlap
The Double the Overlap technique can simplify your aim, especially for challenging or thin shots:
- Measure the Distance: Begin by identifying the distance "d" from the center of the OB to the desired CP on the OB. This will help establish a reference for the aim.
- Double the Distance: Extend this distance by doubling it on the opposite side of the CP. This creates a line of aim through the center of the ghost ball (GB), providing a clearer path.
- For thinner cuts, consider visualizing the smaller distance “x” from the CB to the OB’s edge. Double this to define how far the GB should overlap with the OB.
Another useful method to find this extended line of aim is to mentally draw a line from the top of the OB through the CP down to the table. This approach, known as bottom-of-the-ball aiming, can give you a fresh perspective on easier alignment.
VEPS and Billiards University Training
Tools like the Video Encyclopedia of Pool Shots (VEPS) and Video Encyclopedia of Pool Practice are goldmines for players. The Billiards University (BU) Playing Ability Exams even provide structured testing for your skills—from cue ball control to safety play and position play.
These resources reinforce deliberate training sessions while tracking measurable progress.
Three-Rail and One-Rail Kicking Systems
- The Three-Rail Kicking System helps players anticipate complex rebound angles across multiple cushions.
- The One-Rail Kicking & Banking Systems develop instinctive judgment for bank shots, kick shots, and double kisses—skills critical in 10-ball and 15-ball play.

Creative Practice Drills to Challenge Every Player
Mighty-X Drill
Named for the X-shaped ball setup, this drill refines your cue ball control and angle recognition.
- Arrange five balls in an X pattern and try pocketing them in sequence.
- Keep cue ball positioning tight to maintain rhythm and flow.
- This encourages spatial awareness and advanced cue alignment for pattern play.
The Center Pocket Speed Drill
A timing exercise that emphasizes finesse:
- Shoot the cue ball up and down the table, letting it stop within inches of a side pocket.
- Gradually reduce the margin of error. It's ideal for straight-pool and 15-ball practice routines.
Power, Spin, and Specialty Shots
The Break Shot
Every great player knows that a powerful and controlled break shot sets the tone for an entire rack.
- Maintain balance during your backswing, and strike through the cue ball’s center for maximum transfer of energy.
- Keep your cue parallel to the table to avoid miscues.
- Record your results to find your optimal cue ball placement.
Practicing Specialty Shots
- Jump Shot: Perfect for clearing obstructing balls, use an open bridge and controlled elevation of the cue stick.
- Massé Shot: Add extreme spin to curve the cue ball around obstacles. Start with light power and increase as your control improves.
- Safety Play: Instead of pocketing, intentionally leave the cue ball in a tough position for your opponent.
These are the moves that separate strategic players from reactive ones.
Integrating Technology and Coaching for Faster Improvement
Modern tools have revolutionized pool practice tips and training sessions.
- Use training apps, augmented reality, or a smartphone app to analyze stroke paths and body angles.
- Reference Dr. Dave’s online videos and lessons in Billiards Digest to refine your technical understanding.
- Pair tech with traditional methods: video yourself for feedback, or practice alongside a coach for real-time corrections.
Combining classic billiards wisdom with modern analytics accelerates improvement while preventing bad habits from forming.
Developing Mental Toughness and Confidence
Great pool players are as mentally sharp as they are technically sound.
Focus and Visualization
- Before each shot, picture the entire sequence: cue ball, object ball, and pocket.
- Visualize the desired spin, rebound angle, and follow-through.
- This mental rehearsal strengthens confidence and control during real games.
Building Resilience
- Treat every practice session as a test of patience and composure.
- Learn from missed shots instead of getting frustrated; the best champions embrace failure as feedback.
- Practice under mild pressure, so set time limits or simulate tournament conditions to build mental toughness.
Creating the Ideal Practice Environment
To build consistency, you need the right setup and equipment.
Pool Table and Equipment Essentials
- Invest in a high-quality pool table with true roll and leveled surfaces.
- Keep pool cues, chalk, and cue tips in top condition.
- Clean the ferrule, polish the shaft, and replace worn tips regularly.
- Maintain proper lighting—bright but even across the playing surface.
Home Training Ground Setup
- Dedicate a quiet space for training sessions with minimal distractions.
- Install mirrors or record video for self-analysis of alignment and stroke mechanics.
- Use training balls, target markers, and drills from VEPS or BU exams for measurable progress.
Like every sport, mastery in pool comes down to deliberate practice. Every practice drill, every Rail First Shot Drill, every Mighty-X drill builds towards muscle memory and confidence. By focusing on both your mechanics and your mindset, you’ll develop the precision and control that define true mastery.
Triangle Billiards is here to support your journey, from expert coaching insights to high-quality pool tables, pool cues, and accessories. Whether you’re playing casual straight pool with friends or preparing for your next 9-ball tournament, the right gear and guidance make all the difference.
Shop Triangle Billiards today for everything you need to sharpen your skills and elevate your game.